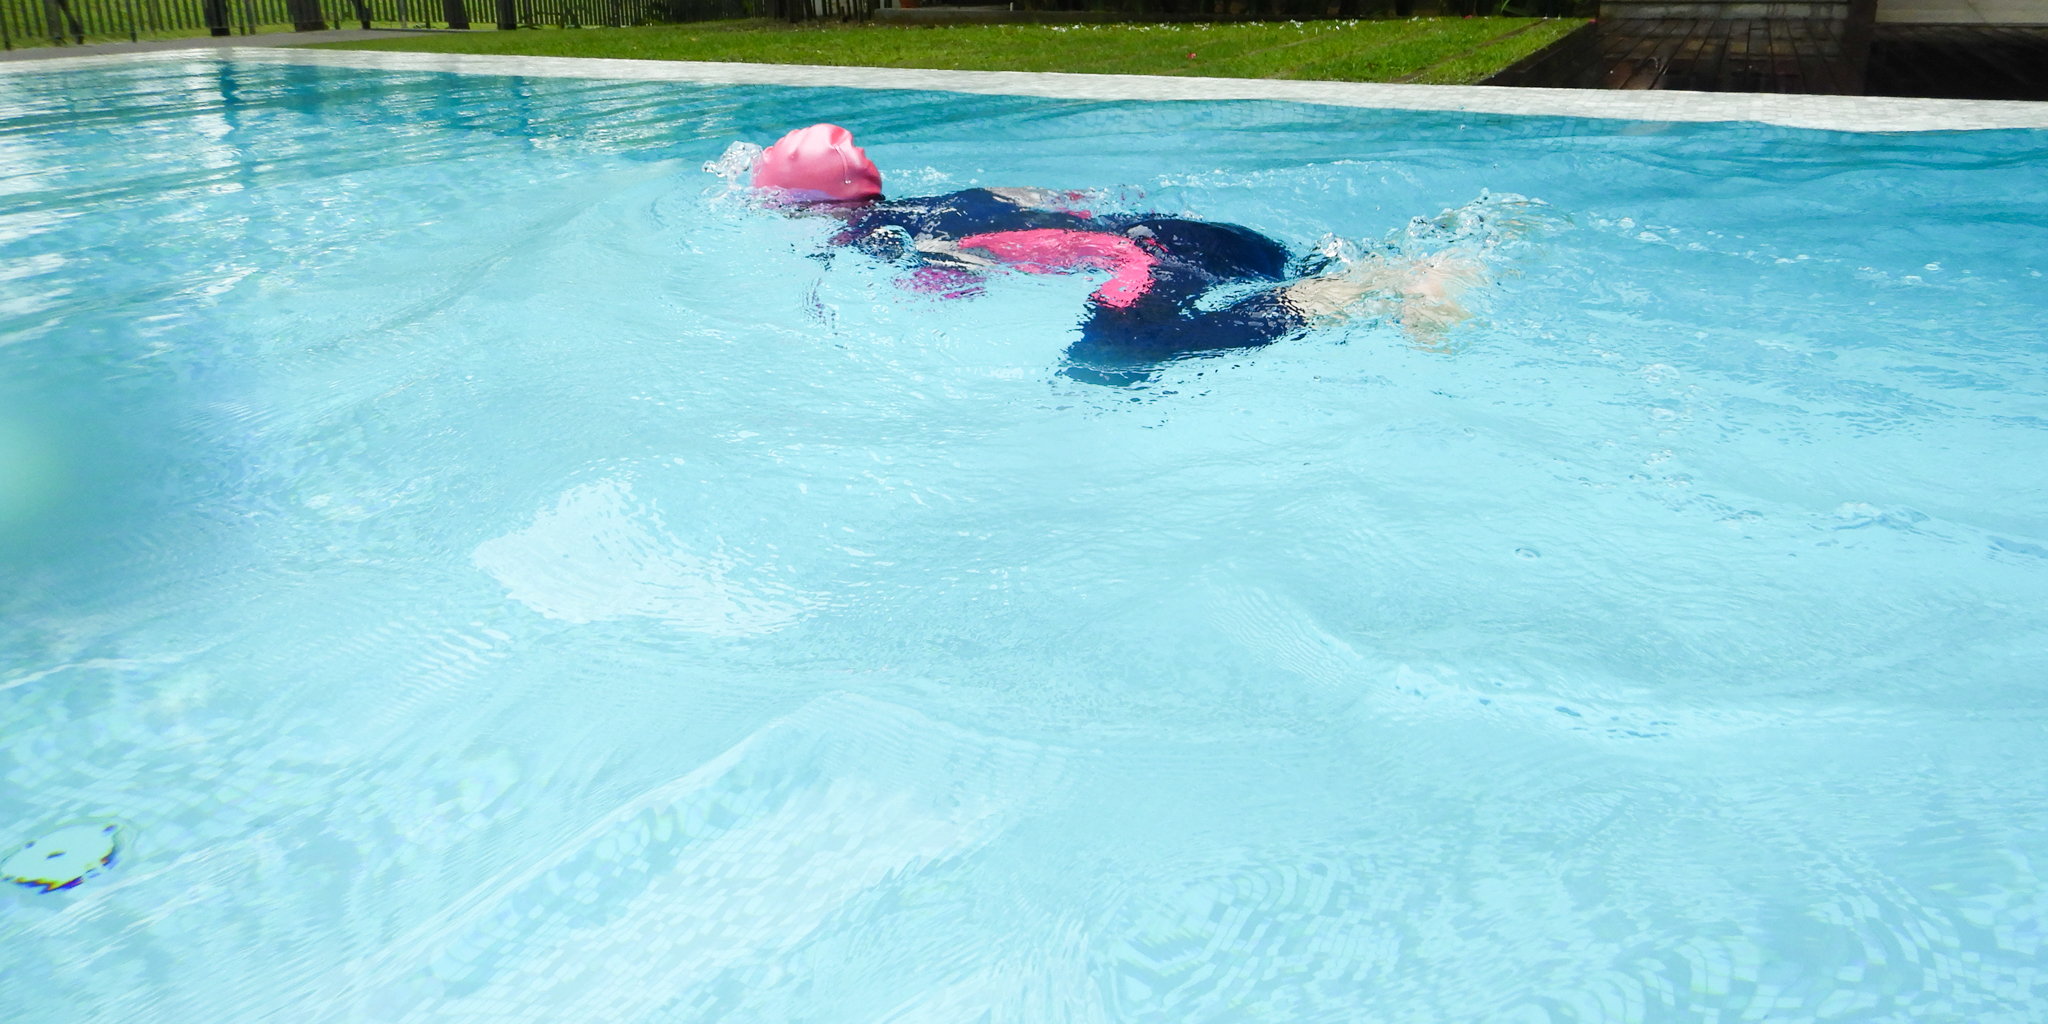
How Do You Do Breaststroke Swimming Properly?

INTRODUCTION TO BREASTSTROKE
One of the four competitive strokes, the breaststroke can also be utilized as a resting stroke in recreational settings. It is commonly cued as “Pull, breath, kick, glide.” It consists of symmetrical arm motion, a breath to the front, a whip kick with the knees staying toward the inner of the ankles, and synchronization of body components (synchronizing arms, legs, and breathing). The breaststroke is executed in the water facing down, without turning the body around. The legs kick like a whip frog, and the arms remain in the water and move in synchrony. Throughout the stroke, it is feasible to maintain an elevated head out of the water. But the proper way is to submerge your face in the water and blow bubbles from the start of the kick and into the glide.
FORMATION OF THE BREASTSTROKE
Breaststroke is one of the oldest swimming strokes and is often called “the grandfather of all strokes.” In the 1600s and 1700s, the breaststroke was done with the head completely out of the water and held high. At that time, the kick was on the instep, not the soles of the feet (Muth 1798). Until the early 1800s, breaststroke swimmers used a frog kick, in which the ankle is bent backward, and the swimmer moves forward by pressing the soles of his or her feet against the water (Councilman, 1968). This is the kick we still use today. Back then, the breaststroke kick was done like a wedge kick. Soon, the breaststroke changed into the sidestroke with an overarm.
SWIMMING TECHNIQUE MASTERY (1): BREASTSTROKE
Children beginning to swim call the breaststroke the “froggy” stroke because it sounds more endearing. The action is similar to a frog swimming in the water, hence the term. It is the most popular recreational style since it is relatively stable and does not need much effort if done correctly.
It can be one complicated stroke to perfect, but once you’ve mastered it, it can be a relaxing way to swim. Here are five stages to getting the breaststroke.
Step 1: Position your body.
Maintain a flat body and lie face down in the water, keeping your body in line with the water’s surface.
ARMS FOR BREASTSTROKE
Step 2: Arm motion
Arm action consists of three steps: catch, pull, and recovery. For example, imagine scooping a massive bowl of ice cream (Catch), bringing it to your mouth to eat (Pull), and then doing it again (Recovery).
1. Catch – With arms straight out in front of you and palms facing down, press down and out simultaneously.
2. Pull – Pull forcefully towards your chest with elbows over your hands. The pull should include an accelerated hand movement with the palm and forearms pressing back and downward.
3. Recover – Put your hands together in front of your chest in a prayer position and push out until your arms are straight again. When pushing against the water, this stance reduces drag.
BREATHING FOR BREASTSTROKE
Step 3: Breathing Method
At the end of the pulling movement, lift your head and neck above the water to breathe. During recovery, exhale bubbles in the water while pushing your hands forward. Remember to adopt the proper praying position and breathing techniques!
WHIP KICK
The breaststroke and basic backstroke both require the whip kick. With this kick, the pupil is propelled in the opposite direction using the bottoms of their feet. Students must rotate their feet out to the side, bend their knees, and dorsiflex their feet symmetrically (bending the ankles to move the feet toward the head), They must then “whip” their lower leg around and point their toes to bring their feet together while pushing the water backward.
LEGS FOR BREASTSTROKE
Step 4: Leg Movement
Begin with your legs straight, then bend your knees to bring your heel nearer your bottom and move your feet in a circular motion until they return to the beginning position. When your knees are bent, your feet should be shoulder-width apart and below the water’s surface.
A key element to remember is to keep your feet dorsiflexed (flat-footed) when performing the breaststroke kick for more force.
Breaststroke Leg Kicking Action
Step 5: Practice Gliding
Following the breaststroke kick, your body should be streamlined, with your arms and legs erect. Stay in this pose for one to two seconds. Your legs should move you forward, letting you “glide” forward.


